EduCentre
- Created: 01/02/2018
- Latest Update: 01/02/2018
- By: Sparkle Themes

There are two methods to install Edu Centre theme. You may either upload the zipped theme file using the WordPress theme installer (Recommended), or you can upload the unzipped theme folder via FTP (Advanced).
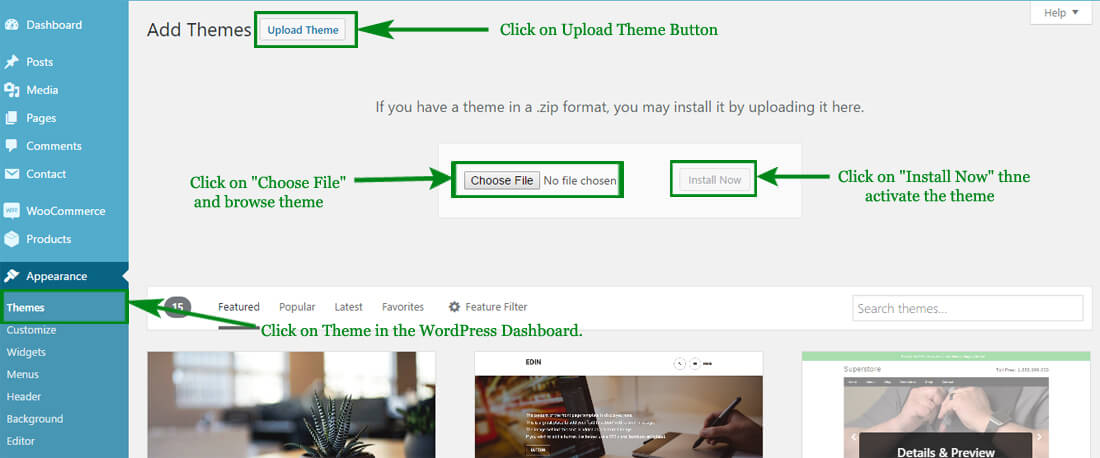
Method 1 ( Recommended) : Install Using the WordPress Theme Installer
-
Log into your WordPress site and opens the Administration Panel.
-
Go to Appearance > Themes in the WordPress Dashboard.
-
Click on the Add New button.
-
Search for the Edu Centre
-
Select the Edu Centre theme
-
Click Install Now
Method 2: Install Using File Transfer Protocol (FTP)
-
Unzip “Educentre.zip” file on your computer.
-
Login using FTP client to access your host web server.
-
Locate the wp-content folder in your WordPress install files.
-
Upload the un-zipped Educentre folder into the: wp-content/themes folder.
Activate the theme
-
Log in to the WordPress Administration Panel.
-
Go to Appearance > Themes in the WordPress menu
-
Hover over the theme thumbnail and click the Activate button.
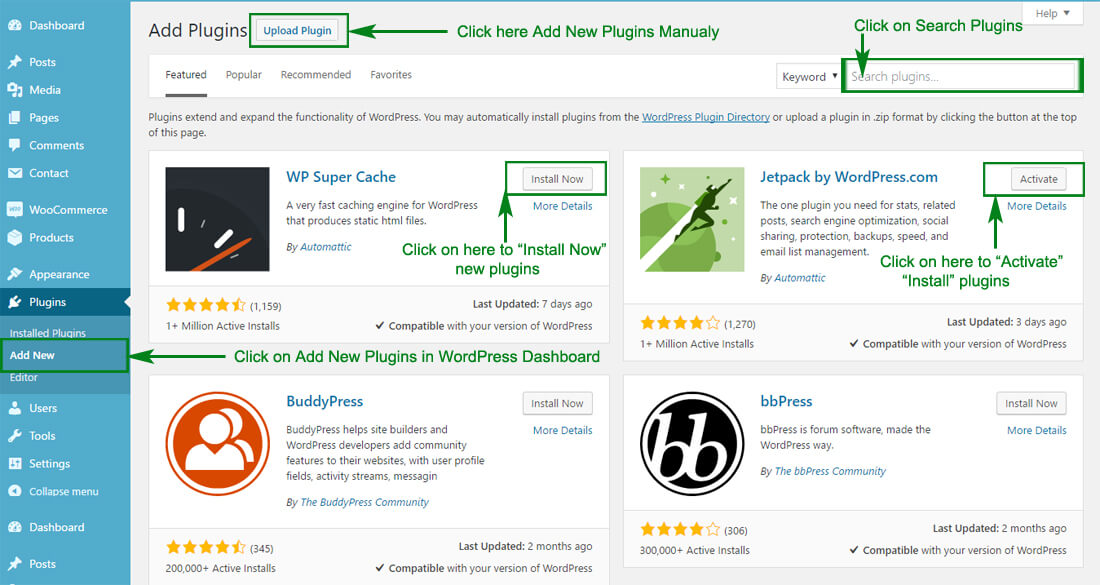
To install a plugin in your WordPress admin panel and follow the following steps.
Plugin Installing Method
- Log into your WordPress site and opens the Administration Panel.
- Click Navigate to Plugins > Add New in the WordPress Dashboard.
- Search for the name of the plugin you wish to install which will return a list of potential plugins.
- Click Details to read more about a plugin.
- Click “Install Now” if you wish to install the plugin.
- It may ask if you are sure, and you may proceed. The installation will commence once you confirm to proceed.
- After the plugin is downloaded. Go to Plugins>Installed Plugins. Click “Activate Plugin” to make it available for use.
Recommended Plugins : We recommend you to download the following plugins when necessary:
- Jetpack by WordPress.com, by: Automatic (The plugin provides a variety of complementary features for your Theme.)
- Regenerate Thumnails by Alex Mills (Viper007Bond) (If you have existing content, this will help you update your image thumbnails sizes.)
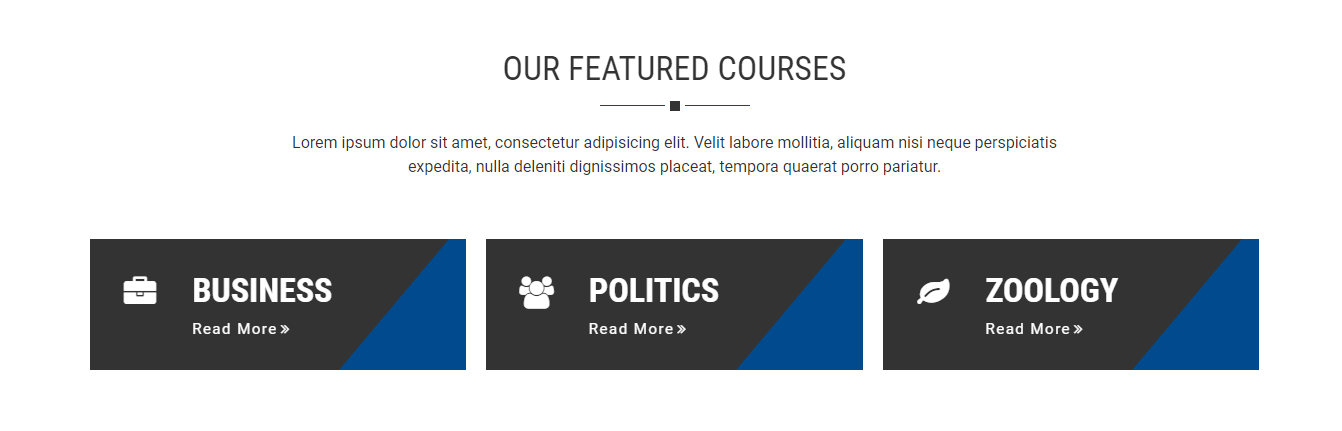
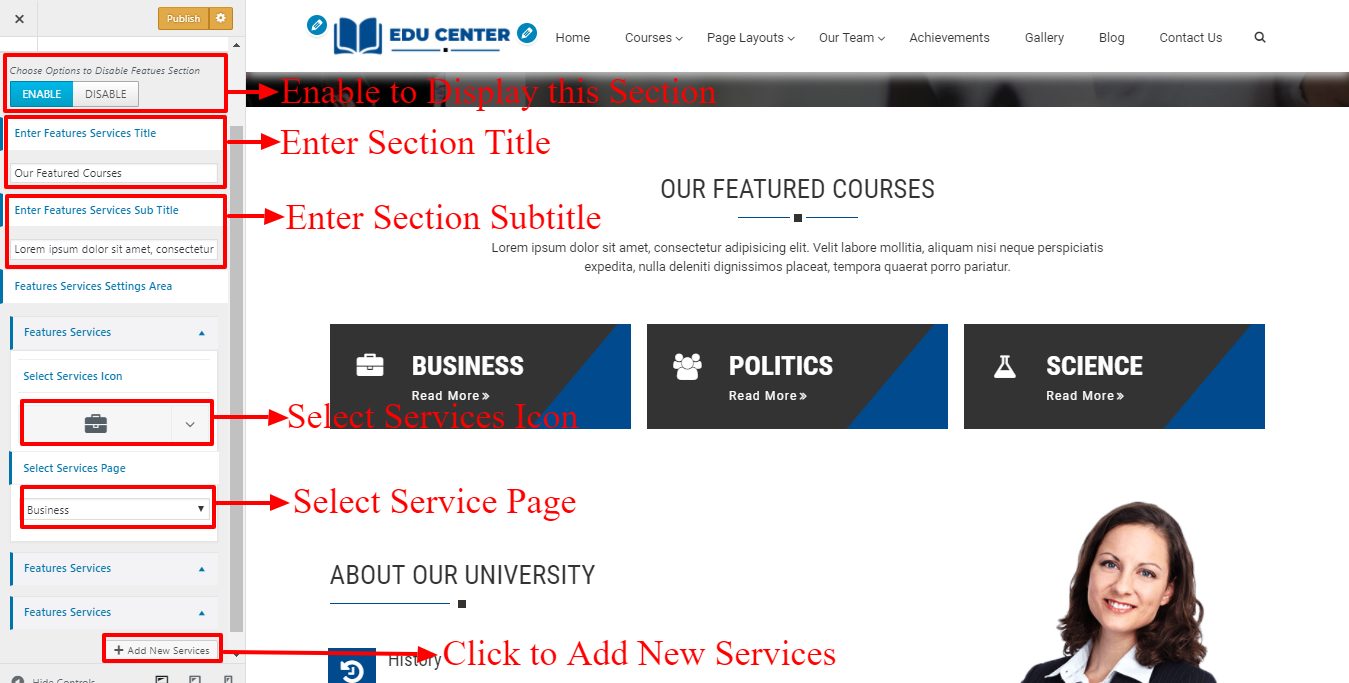
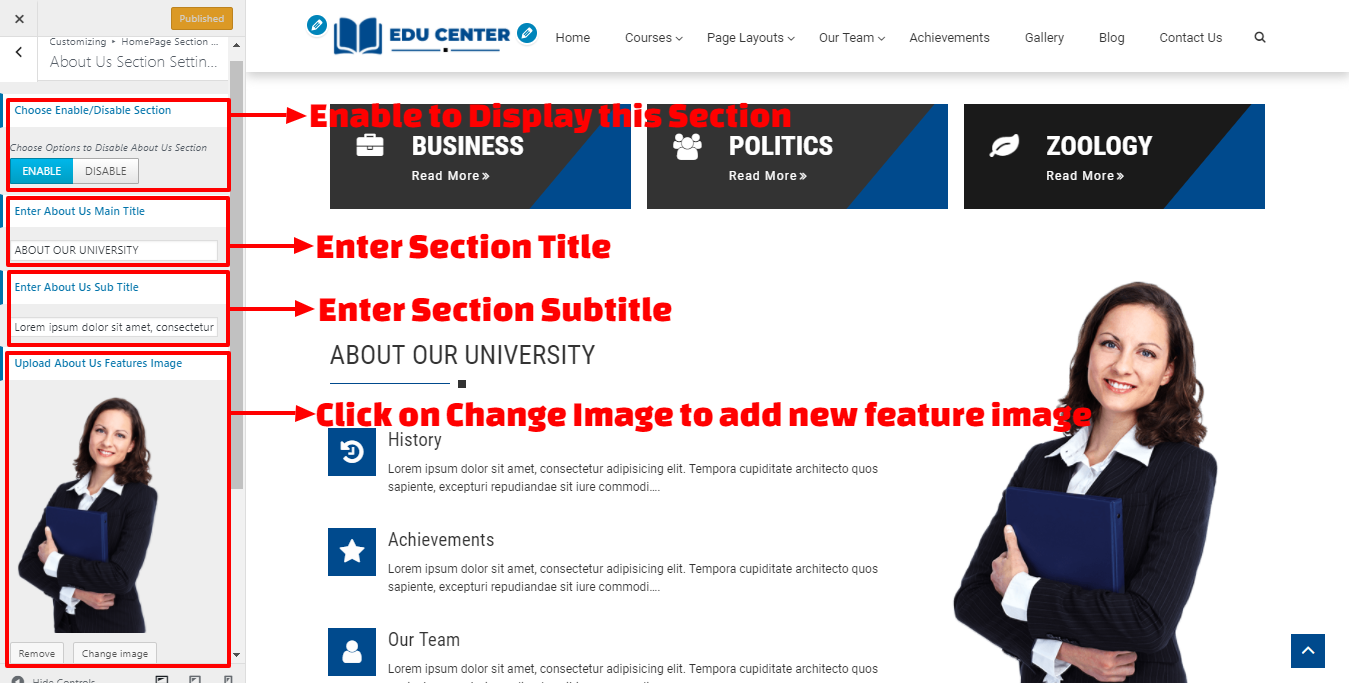
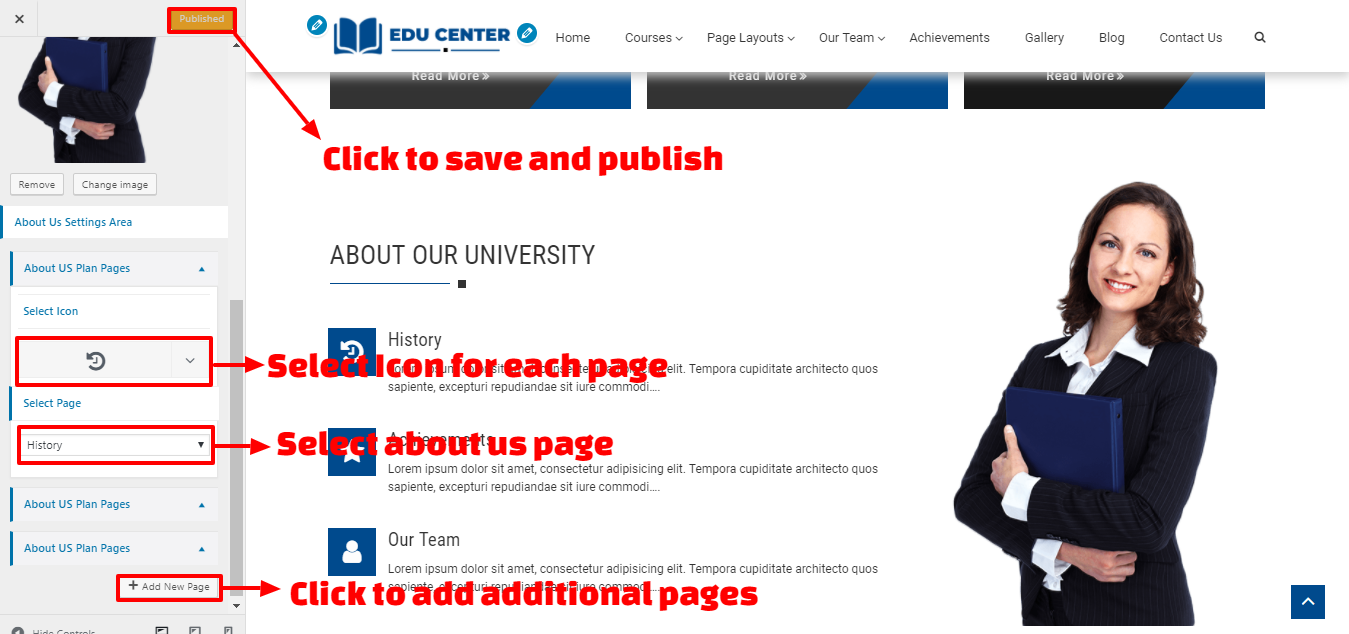
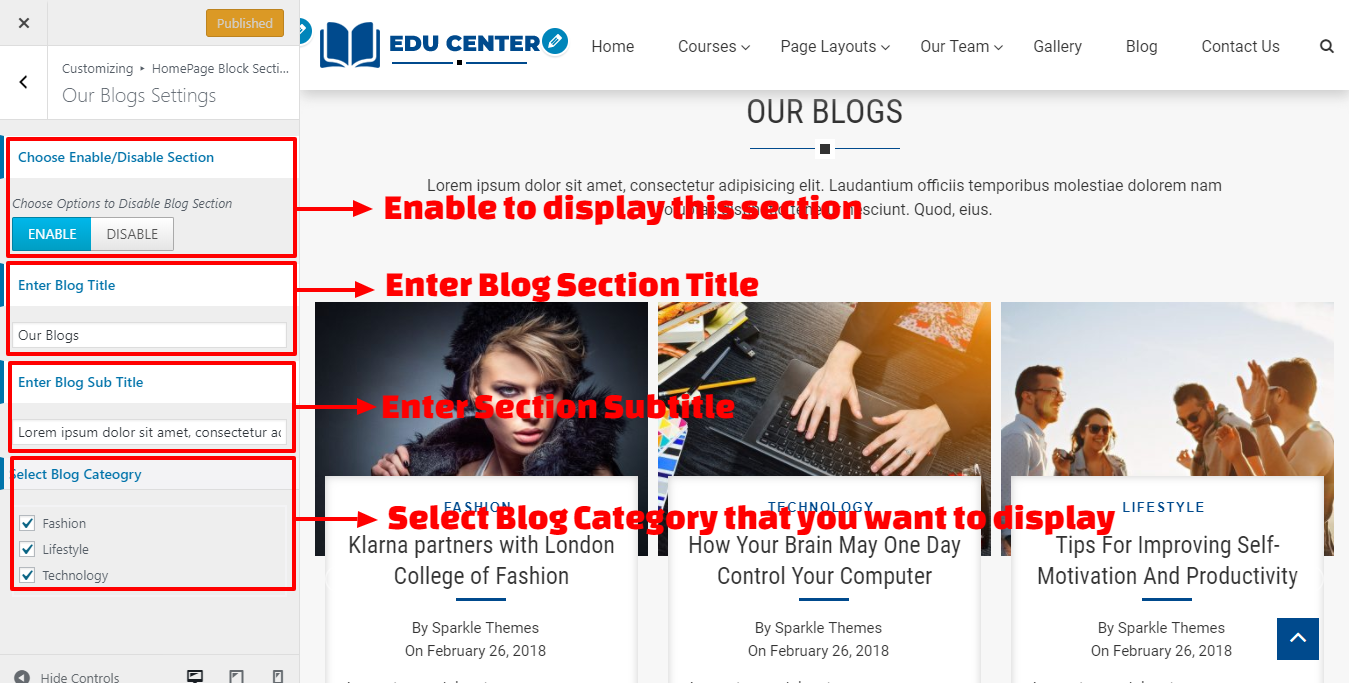
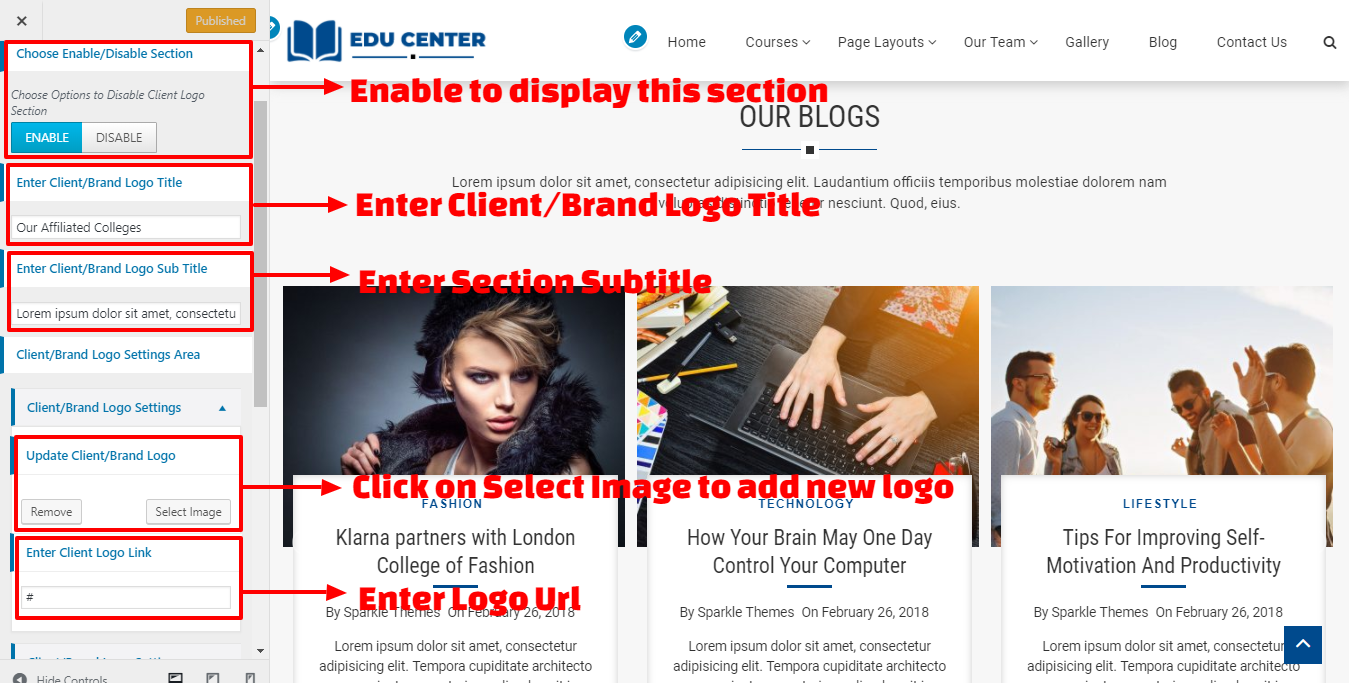
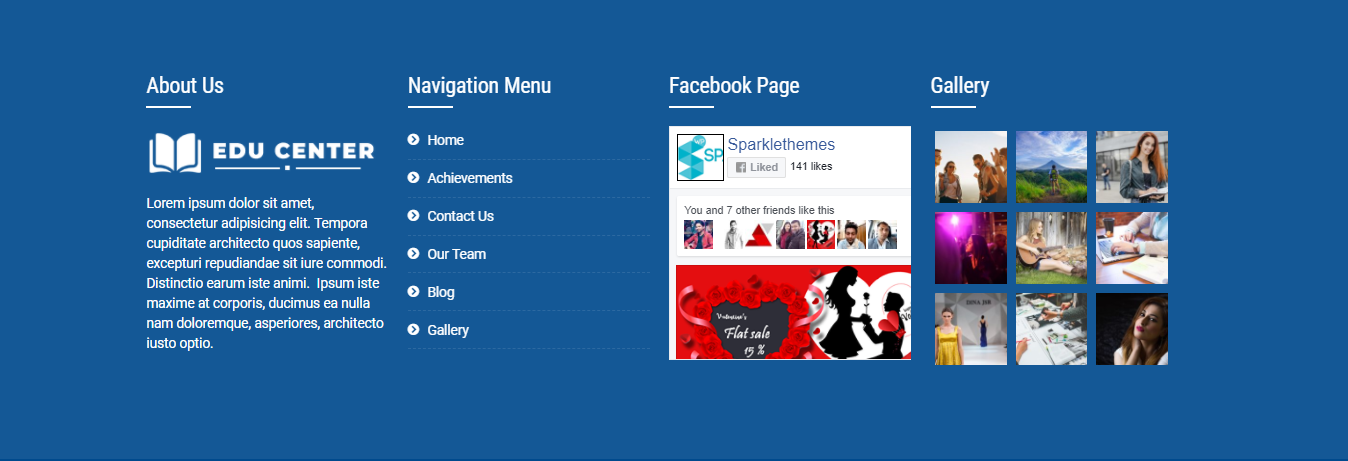
Configuring the front Page display setting
-
Log into your WordPress site and opens the Administration Panel.
-
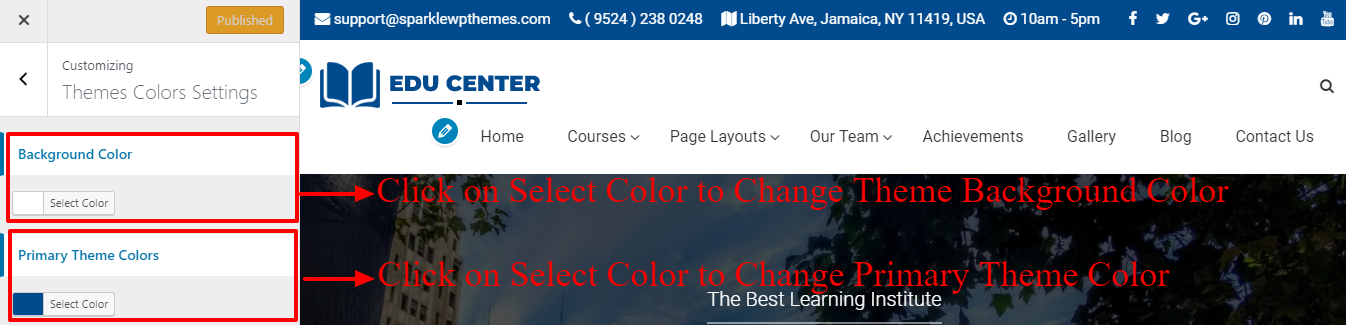
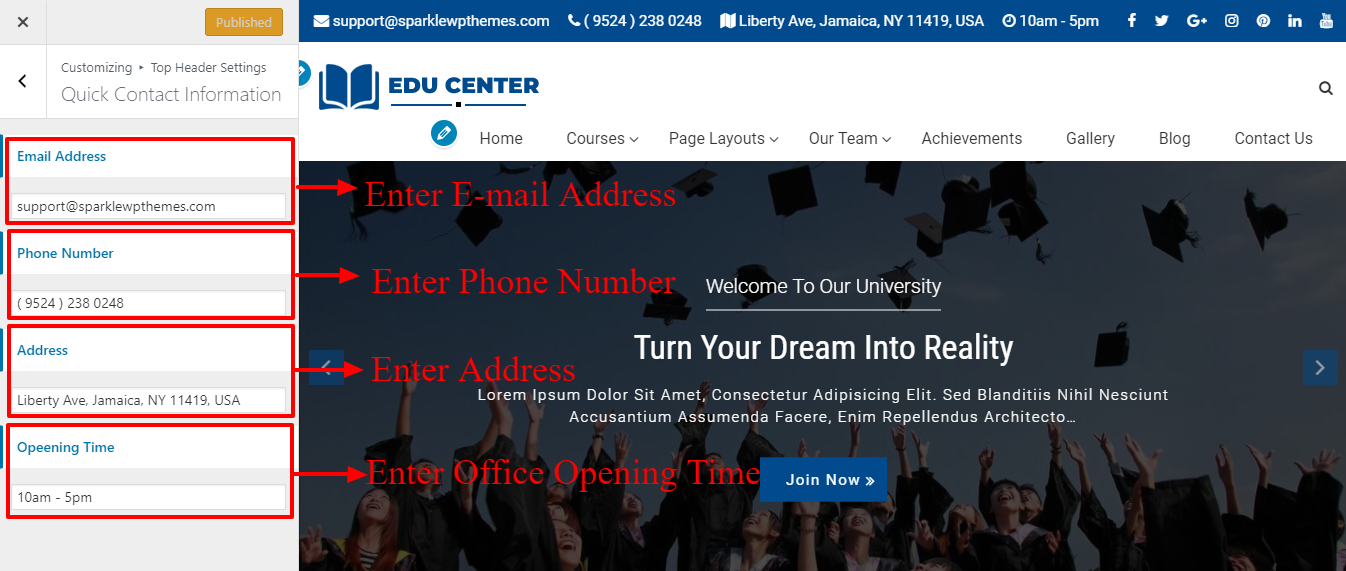
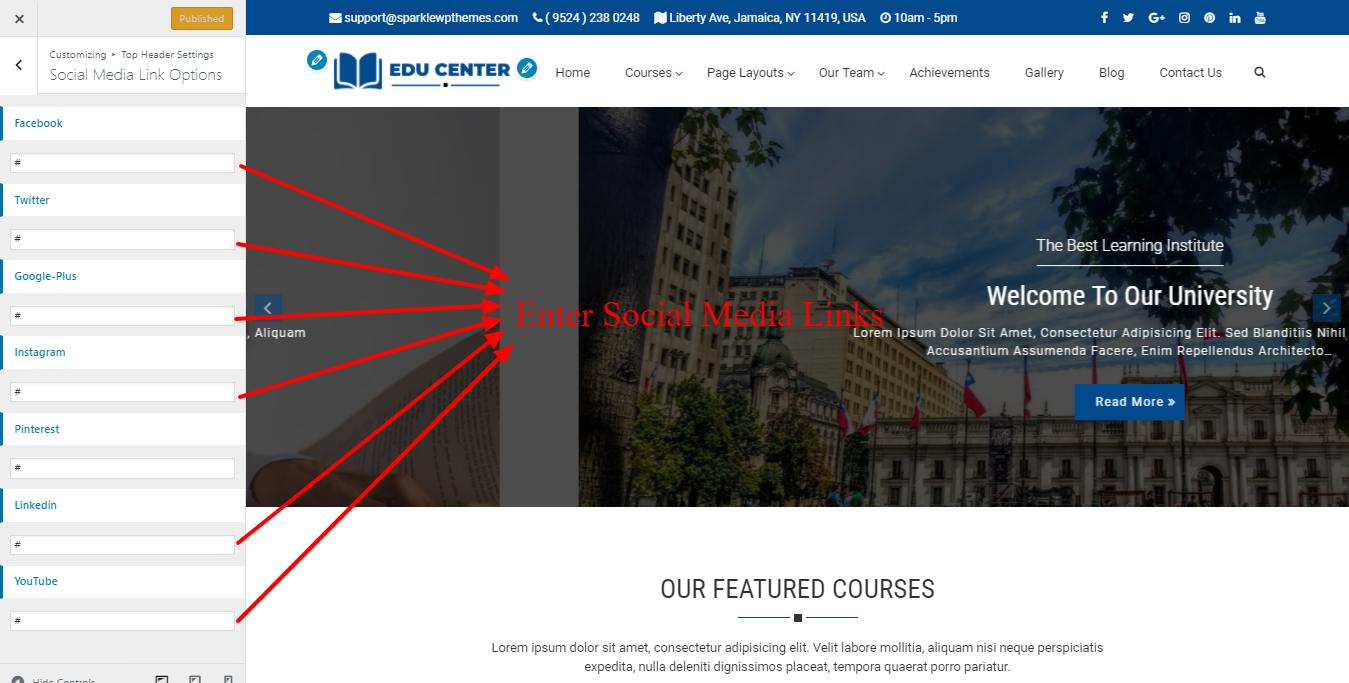
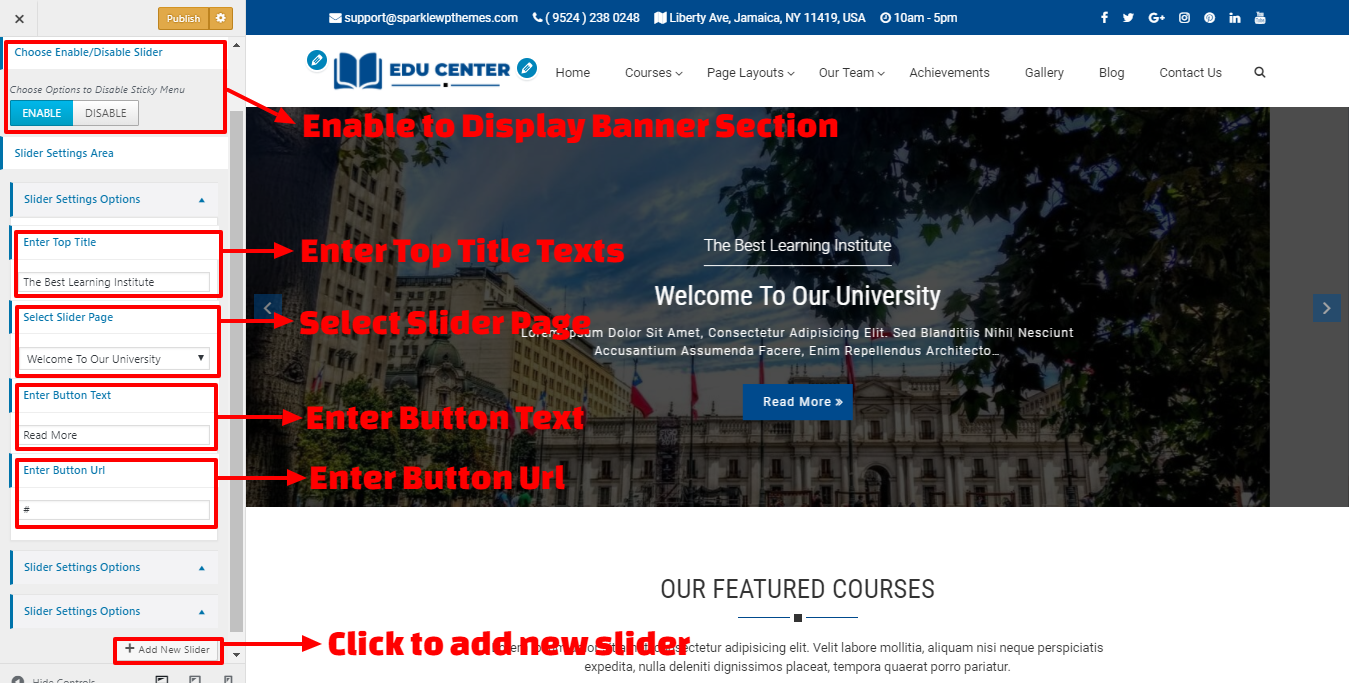
Go to Appearance > Customize > Homepage Settings.
-
Select A static page under Front Page displays.
-
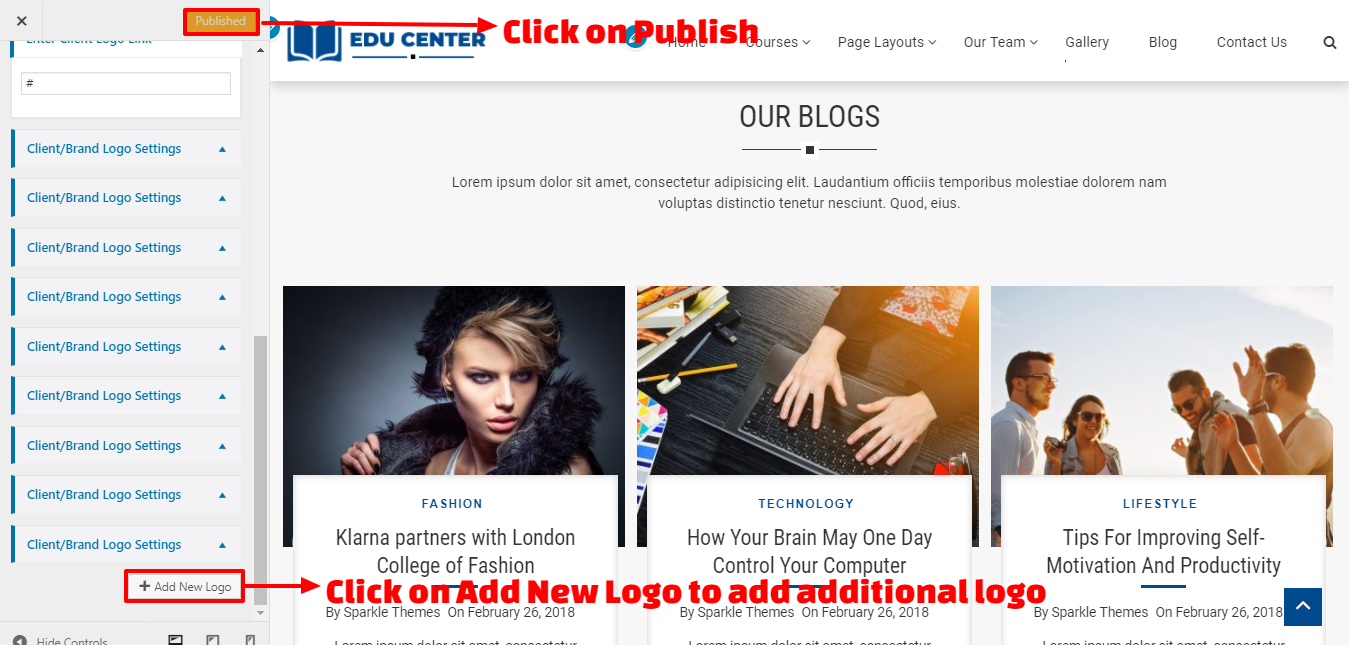
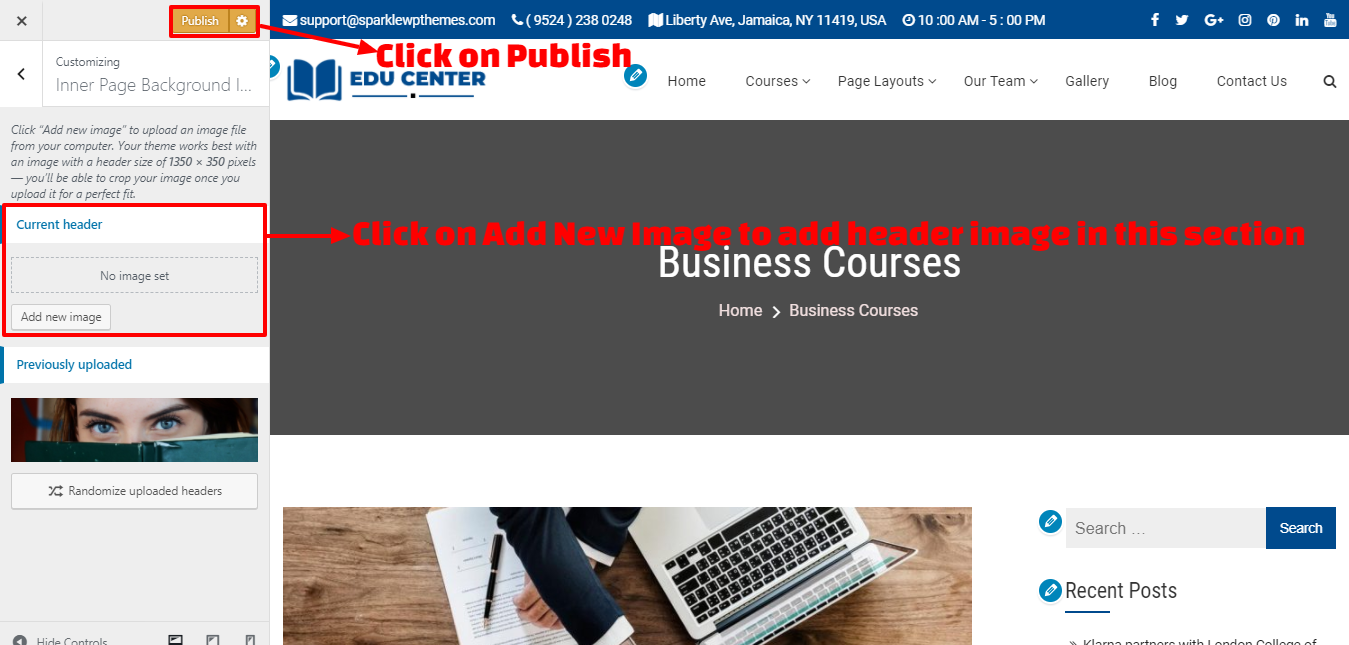
Click Save & Publish.
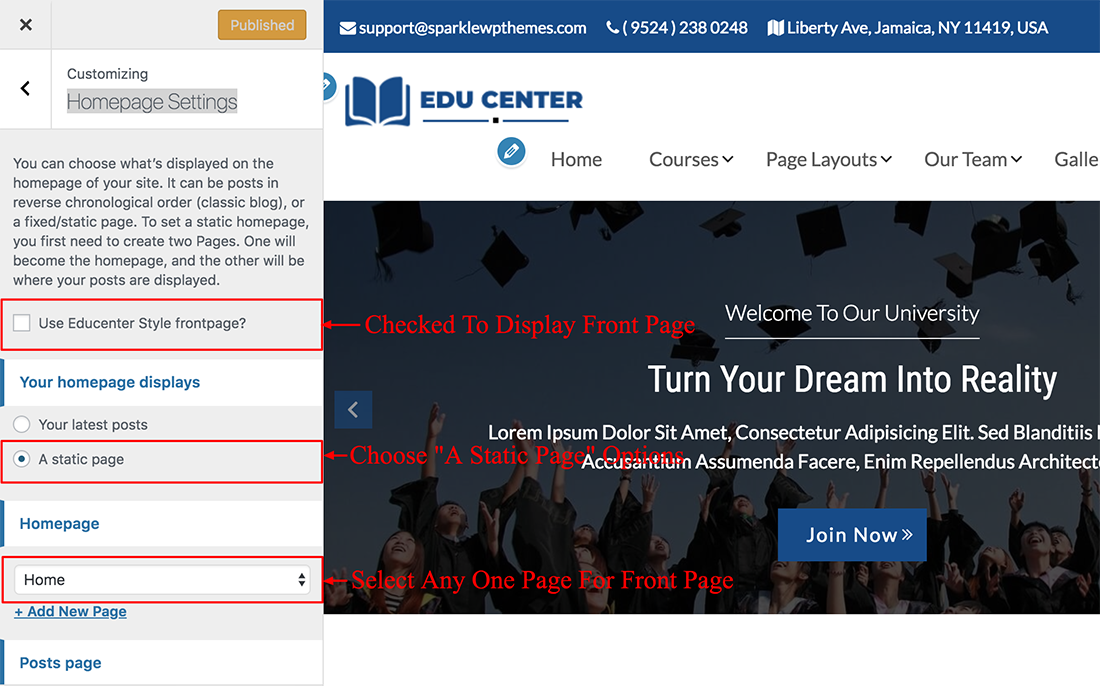
Note : Remember that Edu Centre theme is fully base on customizer so first configure homepage.